Photoshop Project - Aki Spinning
Moderator: enderzero
- enderzero
- Site Admin
- Posts: 3442
- Joined: Mon Mar 17, 2003 2:40 am
- Location: Highland Park, Los Angeles, CA
- Contact:
Photoshop Project - Aki Spinning
I wonder if Aki ever checks these pages anymore. I might have to email him to alert him to this.
I started this project a year or two ago from a photo I took of Aki spinning at a club in Tokyo on my 23rd birthday. Not sure exactly why I chose this photo but just started playing around and developed this method. I did his face and headphones and then put it down for years. I always wanted to go back to it and finish it and for some reason just a few weeks ago I finally did.
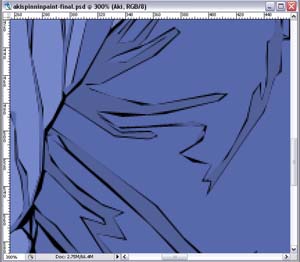
The process is a kind of manual abstract color downsampling. Using the polygon lasso tool I repeatedly selected portions of the image that had a similar color, grabbed a color from the selection that best fit that selections, and filled the selection on a new layer. I would then select around the nearby colors and repeat. It was important to deselect after each fill to create the randomness needed for the abstract quality. Then when the photo layer is turned off, and replaced with a black background, the black shines through the areas not selected/filled and creates a cool effect.
Here is a quick example of the process:
This is a portion of Aki's shirt (click all these for bit larger version):
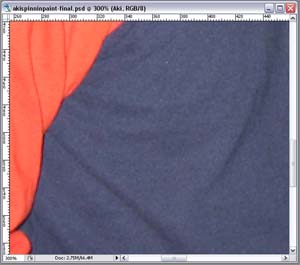
I began by rougly selecting like color regions (note: red on arms switched to blue just for my own reasons):
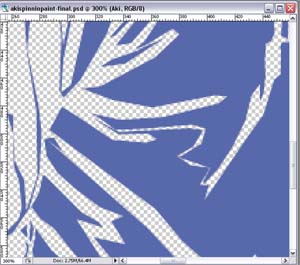
I then deselected and made other selections (there are multiple selections and even multiple colors here for the purpose of the example):
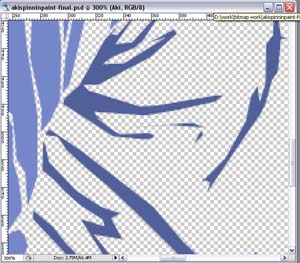
With all the layers on over the photo it looks like this:
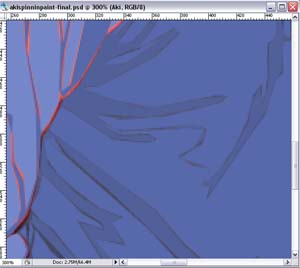
...and then replacing the photo with black you get:
So here is the original photo of Aki, cropped and bordered to match the final:
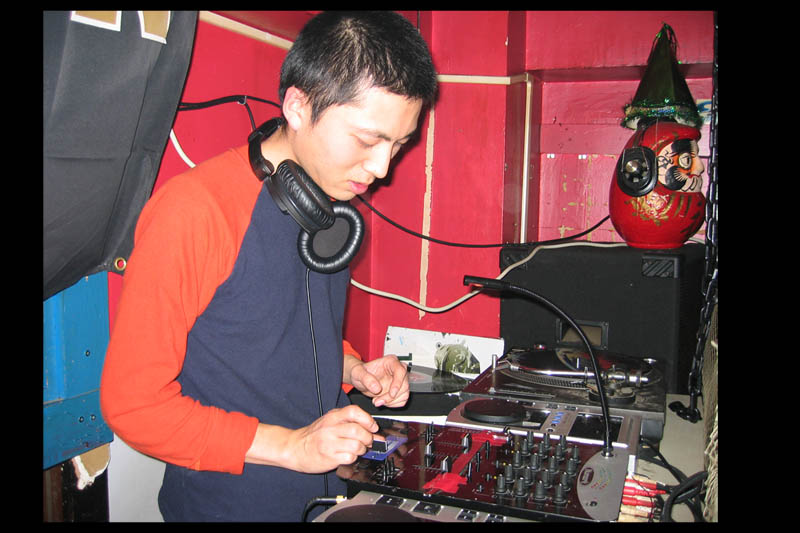
(click for 1200x800 730k)
and the final image:
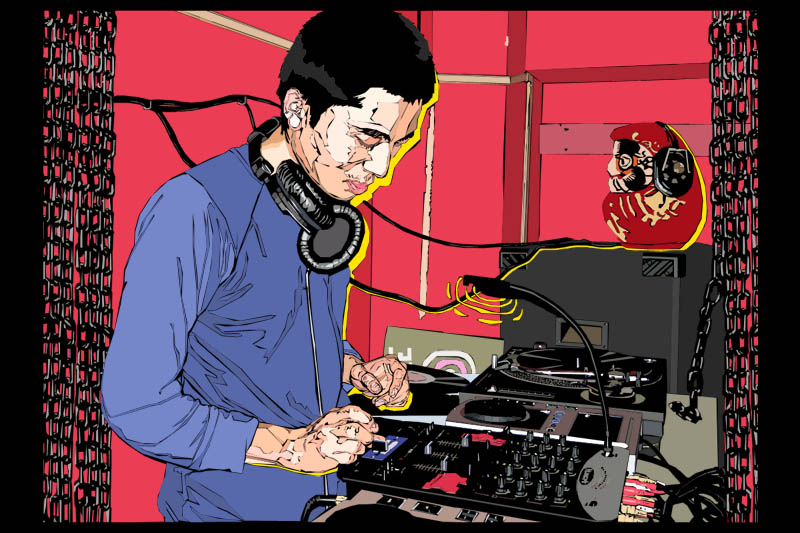
(click for 1200x800 730k)
And if you really want it you can take a look at the 4.8MB PSD file (many many layers compressed).
- spidermonkey
- Sign Post
- Posts: 1484
- Joined: Tue Mar 25, 2003 7:47 pm
- Location: Spidermonkey's Lair
- spidermonkey
- Sign Post
- Posts: 1484
- Joined: Tue Mar 25, 2003 7:47 pm
- Location: Spidermonkey's Lair
Speaking of long term Photoshop projects, here's something I've been working on for a month or so:
http://jonathanstroh.com/storage/elephants.jpg
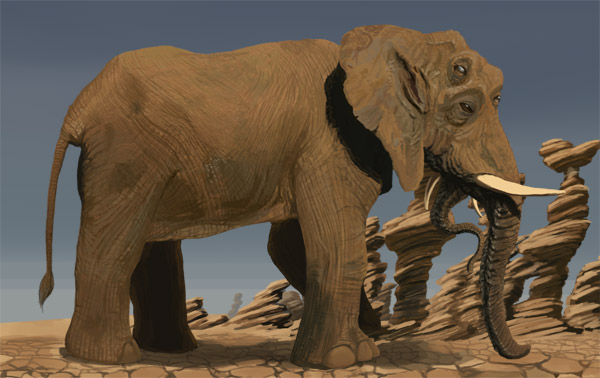
It started out innocently enough with just this one malformed elephant,
But things gradually got out of hand and now the image is somewhere around 17,000 pixels wide. I've just been painting with one of the Photoshop natural brushes and expanding the image as I go using the crop tool whose magic I only recently discovered.
- spidermonkey
- Sign Post
- Posts: 1484
- Joined: Tue Mar 25, 2003 7:47 pm
- Location: Spidermonkey's Lair
The cool thing about the crop tool is that you can use it to extend the canvas just by dragging in any direction rather than using the old change canvas size thing.
It's also quicker than using the old marquee tool to crop things smaller.
This is the crop tool in the toolbar thing, mind you, not the one under the edit menu.
It's also quicker than using the old marquee tool to crop things smaller.
This is the crop tool in the toolbar thing, mind you, not the one under the edit menu.
- Bill Drayton Jr.
- Post Apocalyptic
- Posts: 2171
- Joined: Tue Mar 25, 2003 2:48 pm
- Location: teh w00ds
- spidermonkey
- Sign Post
- Posts: 1484
- Joined: Tue Mar 25, 2003 7:47 pm
- Location: Spidermonkey's Lair
- Bill Drayton Jr.
- Post Apocalyptic
- Posts: 2171
- Joined: Tue Mar 25, 2003 2:48 pm
- Location: teh w00ds
Apparently, goats are rather sturdy